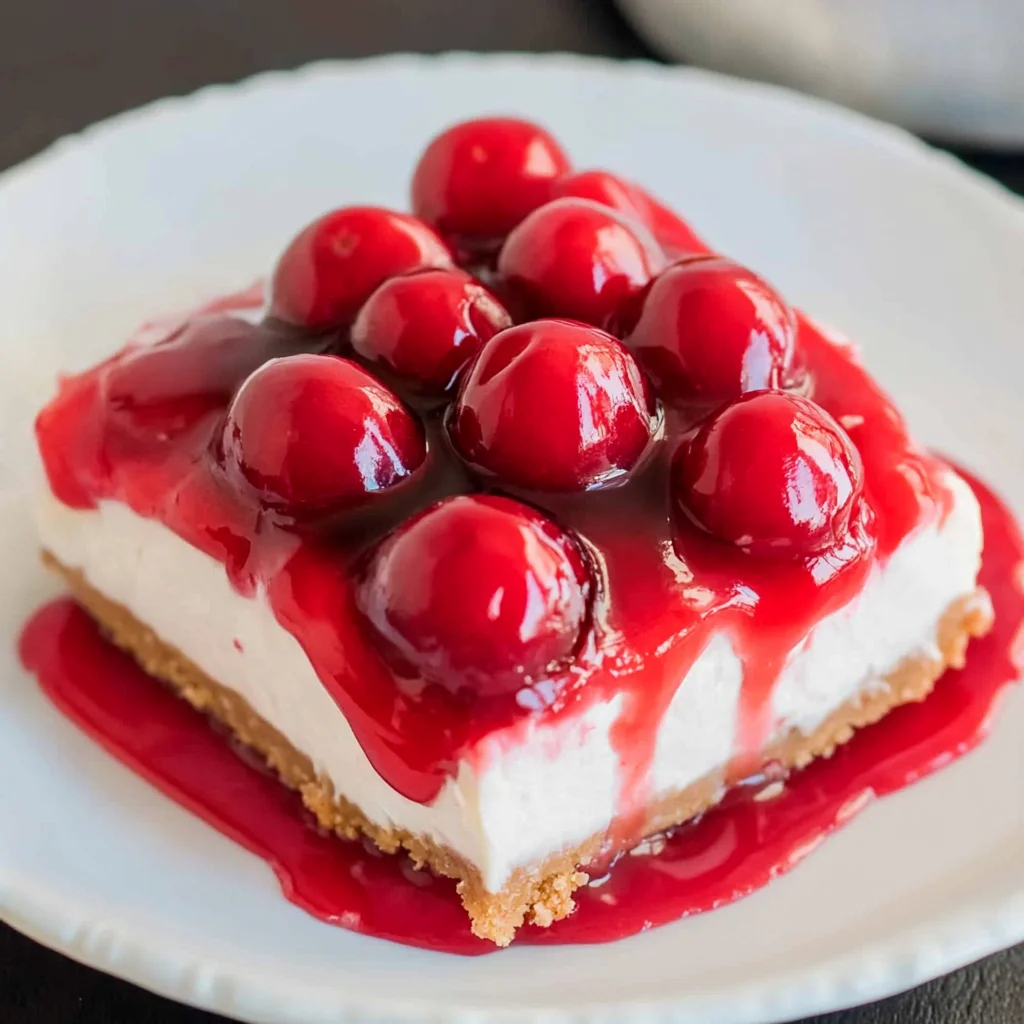
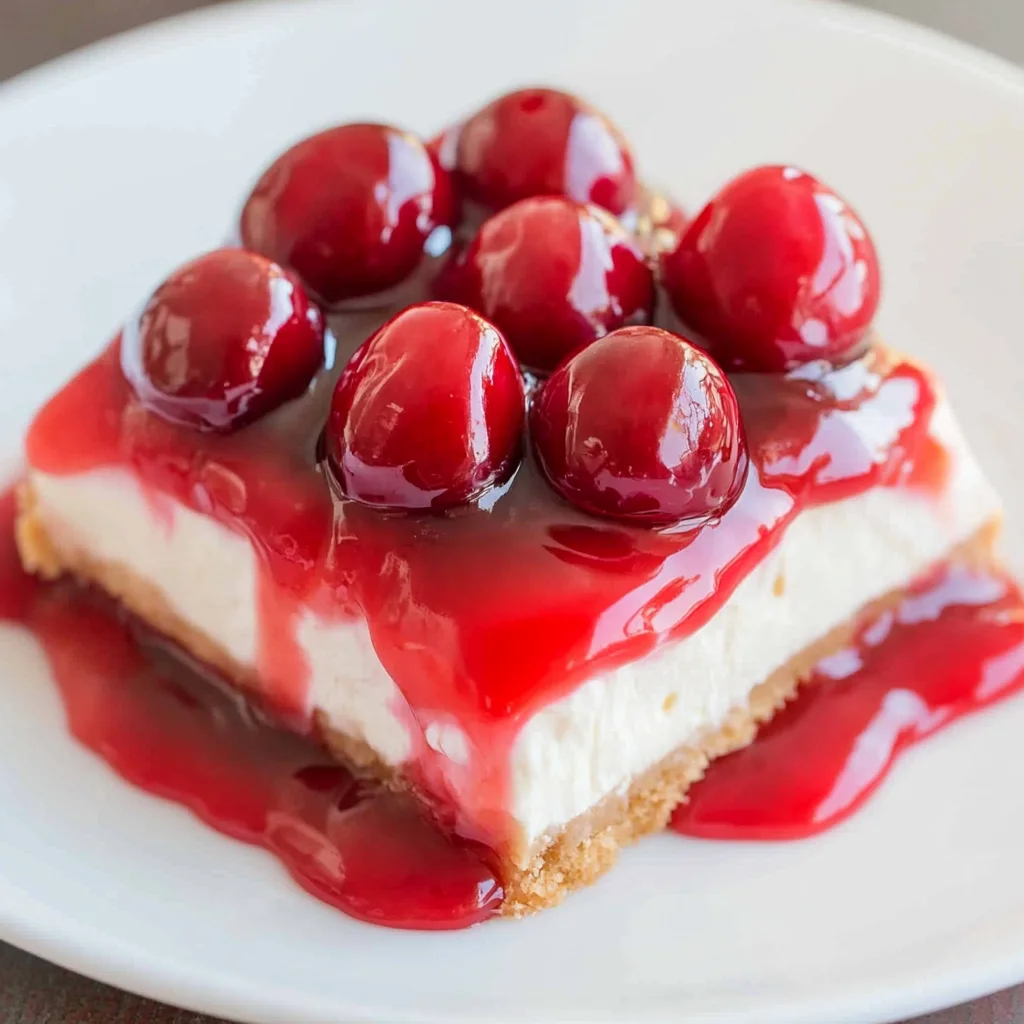
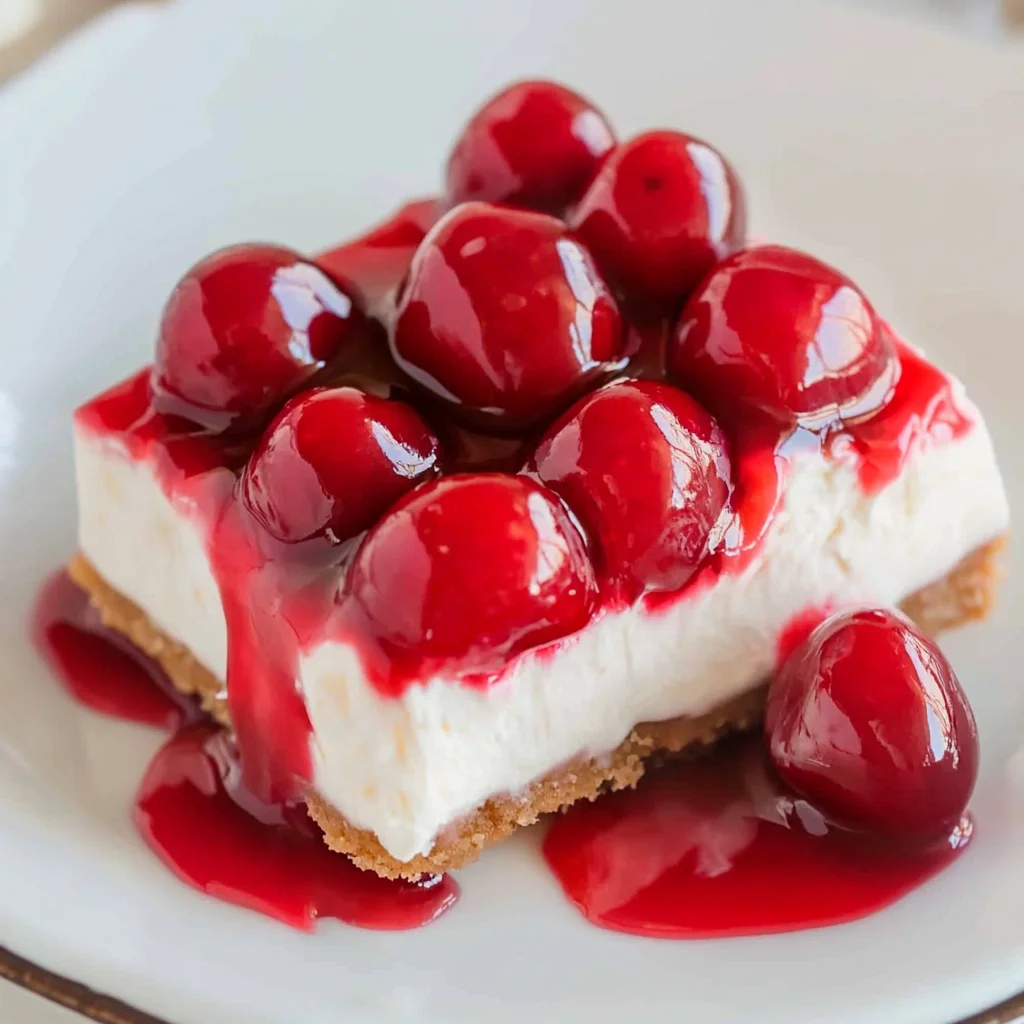
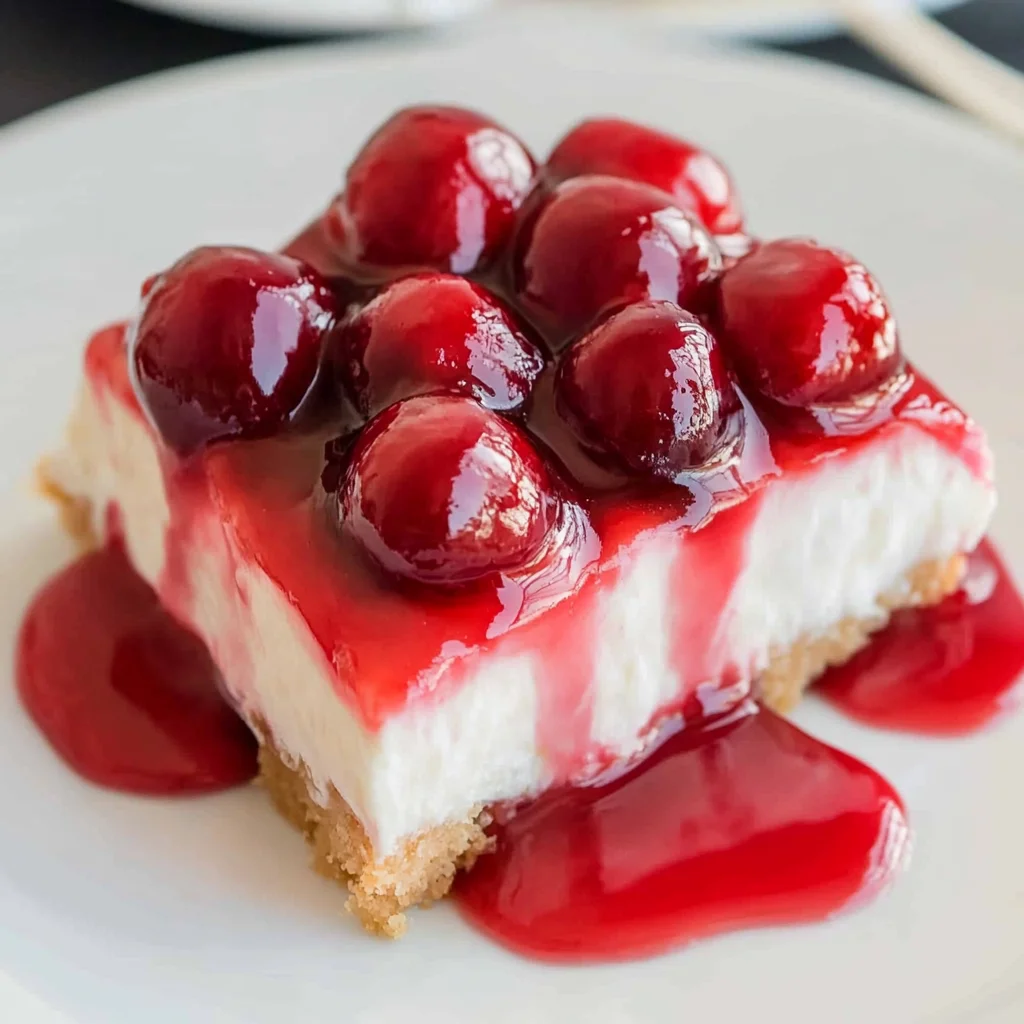
This Recipe for Cherry Cheesecake is not just a dessert; it’s a delightful experience that can elevate any gathering. With its creamy texture and the sweet-tart flavor of cherries, this no-bake cheesecake is perfect for celebrations, dinner parties, or simply as a treat to enjoy at home. It’s easy to make and requires minimal ingredients, making it an ideal choice for both novice and experienced bakers.
Jump to:
- Why You’ll Love This Recipe
- Tools and Preparation
- Essential Tools and Equipment
- Importance of Each Tool
- Ingredients
- For the Crust
- For the Filling
- For the Topping
- How to Make Recipe for Cherry Cheesecake
- Step 1: Prepare the Crust
- Step 2: Make the Filling
- Step 3: Add the Topping
- Step 4: Final Chill
- How to Serve Recipe for Cherry Cheesecake
- Individual Portions
- Topped with Whipped Cream
- Garnished with Fresh Cherries
- Served with Ice Cream
- Accompanied by Coffee or Tea
- Decorated with Chocolate Shavings
- How to Perfect Recipe for Cherry Cheesecake
- Best Side Dishes for Recipe for Cherry Cheesecake
- Common Mistakes to Avoid
- Storage & Reheating Instructions
- Refrigerator Storage
- Freezing Recipe for Cherry Cheesecake
- Reheating Recipe for Cherry Cheesecake
- Frequently Asked Questions
- Can I use fresh cherries instead of pie filling?
- How can I customize this cherry cheesecake recipe?
- Is this recipe suitable for gluten-free diets?
- Can I prepare this cherry cheesecake ahead of time?
- Final Thoughts
- 📖 Recipe Card
Why You’ll Love This Recipe
- No Baking Required: This cheesecake comes together without the need for an oven, making it a hassle-free option.
- Rich Flavor: The combination of cream cheese and cherry pie filling creates a deliciously rich taste that everyone will love.
- Quick Prep Time: With only 25 minutes of prep time, you can whip this dessert together in no time.
- Perfect for Any Occasion: Whether it’s a birthday party or a casual family dinner, this cheesecake fits right in.
- Easily Customizable: You can switch the cherry topping with other fruits for different flavor profiles.
Tools and Preparation
To create this amazing Recipe for Cherry Cheesecake, you’ll need some essential tools. Having the right equipment makes preparation smoother and more enjoyable.
Essential Tools and Equipment
- Food processor
- Mixing bowls
- 8×8 inch baking pan
- Parchment paper
- Spatula
Importance of Each Tool
- Food processor: This tool simplifies crushing graham crackers into fine crumbs quickly.
- Mixing bowls: Having multiple sizes helps in organizing your ingredients efficiently during preparation.
- Spatula: A good spatula ensures even spreading of your cheesecake layer without mess.
Ingredients
This no-bake cherry cheesecake is a rich and decadent treat that’s sure to be a crowd-pleaser.
For the Crust
- 9 graham cracker sheets (one sleeve)
- ½ cup melted butter
- 1 tablespoon sugar
For the Filling
- 16 ounces cream cheese (softened)
- 8 ounces Cool Whip
- 1 cup powdered sugar
- 1 teaspoon lemon juice
For the Topping
- 21 ounces cherry pie filling
How to Make Recipe for Cherry Cheesecake
Step 1: Prepare the Crust
- Place graham cracker sheets in the food processor and pulse into fine crumbs.
- In a medium bowl, combine graham cracker crumbs, melted butter, and sugar.
- Line an 8×8 inch pan with parchment paper. Press the graham cracker mixture evenly into the bottom of the pan. Chill in the refrigerator.
Step 2: Make the Filling
- In a large bowl, mix softened cream cheese, Cool Whip, powdered sugar, and lemon juice until smooth.
- Spread this mixture into an even layer over the chilled graham cracker crust. Chill for about 5 minutes.
Step 3: Add the Topping
- Spoon cherry pie filling over the cream cheese layer.
- Gently spread out the cherries to cover the entire pan.
Step 4: Final Chill
Chill for at least 4 hours before slicing into squares and serving. Enjoy your delicious creation!
How to Serve Recipe for Cherry Cheesecake
Serving a cherry cheesecake is as delightful as making it. You’ll want to present this stunning dessert beautifully. Here are some creative serving suggestions to impress your guests.
Individual Portions
- Use small mason jars or dessert cups to create individual servings. This adds a personal touch and makes it easy for guests to enjoy.
Topped with Whipped Cream
- Add a dollop of fresh whipped cream on top of each slice. This enhances the flavor and adds an extra layer of richness.
Garnished with Fresh Cherries
- Place fresh cherries on top of the cheesecake pieces for a pop of color and freshness. It’s visually appealing and delicious!
Served with Ice Cream
- Pair each slice with a scoop of vanilla ice cream. The combination of creamy cheesecake and cold ice cream is simply irresistible.
Accompanied by Coffee or Tea
- Serve slices alongside a hot cup of coffee or tea. This balances the sweetness and creates a perfect dessert experience.
Decorated with Chocolate Shavings
- Sprinkle chocolate shavings over the top for added texture and flavor. It gives the cheesecake an elegant finish that everyone will love.
How to Perfect Recipe for Cherry Cheesecake
Perfecting your cherry cheesecake can take your dessert from good to great. Here are some tips to ensure your cheesecake turns out wonderfully every time.
Use Room Temperature Ingredients – Ensure cream cheese is softened before mixing. This prevents lumps and creates a smooth filling.
Chill Properly – Allow the cheesecake to chill for at least 4 hours. This helps it set properly and enhances the flavors.
Don’t Overmix – Mix just until combined when adding ingredients. Overmixing can incorporate too much air, affecting texture.
Taste Test Your Filling – Before spreading, taste the filling mixture. Adjust sweetness if necessary by adding more powdered sugar or lemon juice.
Layer Evenly – Spread the cream cheese layer evenly over the crust to ensure each slice has balanced toppings and crust.
Garnish Just Before Serving – Add any toppings like cherries or whipped cream right before serving for maximum freshness.
Best Side Dishes for Recipe for Cherry Cheesecake
Cherry cheesecake pairs well with several side dishes that complement its flavors. Here are some excellent options:
- Fresh Fruit Salad – A mix of seasonal fruits adds brightness and balances the richness of the cheesecake.
- Chocolate Covered Strawberries – These sweet treats provide a delightful contrast in flavors and textures.
- Mini Cookies – Offer an assortment of mini cookies on the side for guests who enjoy extra crunch.
- Panna Cotta – A light panna cotta can enhance the dessert experience without overwhelming it.
- Cheese Platter – A selection of cheeses balances sweetness with savory notes, creating a sophisticated spread.
- Coffee Cake – A slice of coffee cake complements cherry cheesecake perfectly, especially during brunch occasions.
- Nutty Granola Bars – These add a healthy touch while contributing texture that contrasts nicely with creamy cheesecake.
- Lemon Sorbet – This refreshing sorbet cleanses the palate between bites, enhancing enjoyment of your cherry cheesecake.
Common Mistakes to Avoid
When making the recipe for cherry cheesecake, it’s essential to avoid common pitfalls that can affect the final result.
- Incorrect Cream Cheese Temperature: Using cream cheese that isn’t softened can lead to a lumpy filling. Always ensure it’s at room temperature for a smooth texture.
- Overmixing the Filling: Overmixing can incorporate too much air, causing the cheesecake to crack. Mix just until combined for the best results.
- Skipping the Chilling Time: Not allowing the cheesecake to chill adequately can result in a runny texture. Be sure to let it set for at least 4 hours in the fridge.
- Using Low-Quality Ingredients: Cheap ingredients can compromise flavor. Invest in quality cream cheese and cherry pie filling for a richer taste.
- Not Pressing Crust Firmly Enough: A loose crust may crumble when sliced. Press down firmly and evenly when creating your graham cracker crust.
Storage & Reheating Instructions
Refrigerator Storage
- Store leftovers in an airtight container.
- The cheesecake will last up to 5 days in the refrigerator.
Freezing Recipe for Cherry Cheesecake
- Wrap individual slices or the whole cheesecake tightly in plastic wrap and then foil.
- It can be frozen for up to 3 months without losing quality.
Reheating Recipe for Cherry Cheesecake
- Oven: Preheat to 300°F (150°C). Place slices in a baking dish covered with foil until warmed through.
- Microwave: Heat slices on medium power for about 20-30 seconds. Check frequently to avoid melting too much.
- Stovetop: Use a double boiler method, placing slices on top of a pot of simmering water until warmed.
Frequently Asked Questions
Here are some commonly asked questions regarding the recipe for cherry cheesecake.
Can I use fresh cherries instead of pie filling?
Yes, you can use fresh cherries! Just make sure to cook them down with sugar and cornstarch to create a thick topping similar to pie filling.
How can I customize this cherry cheesecake recipe?
You can customize this cherry cheesecake by adding different flavors like chocolate or almond extract, or by using other fruits such as blueberries or strawberries.
Is this recipe suitable for gluten-free diets?
To make this recipe gluten-free, substitute graham crackers with gluten-free alternatives. Ensure all other ingredients are also gluten-free.
Can I prepare this cherry cheesecake ahead of time?
Absolutely! This no-bake cherry cheesecake is perfect for preparing a day in advance, making it an excellent choice for parties and gatherings.
Final Thoughts
The recipe for cherry cheesecake is a delightful dessert that combines rich flavors with a creamy texture. Its no-bake nature makes it easy and quick to prepare, while its versatility allows you to customize it with various toppings or flavors. Whether you’re serving it at a party or enjoying it at home, this cherry cheesecake is sure to impress. Give it a try and explore your own creative variations!
Did You Enjoy Making This Recipe? Please rate this recipe with ⭐⭐⭐⭐⭐ or leave a comment.
📖 Recipe Card
Print
Cherry Cheesecake
- Total Time: 0 hours
- Yield: Serves approximately 9 slices 1x
Description
Indulge in the ultimate dessert experience with this no-bake Cherry Cheesecake. Perfect for any occasion, this creamy delight combines the rich flavors of cream cheese and sweet-tart cherry pie filling atop a crunchy graham cracker crust.
Ingredients
- 9 graham cracker sheets
- ½ cup melted butter
- 1 tablespoon sugar
- 16 ounces cream cheese (softened)
- 8 ounces Cool Whip
- 1 cup powdered sugar
- 1 teaspoon lemon juice
- 21 ounces cherry pie filling
Instructions
- Prepare the crust by crushing graham crackers in a food processor. Mix with melted butter and sugar, then press into an 8×8 inch pan lined with parchment paper. Chill.
- For the filling, blend softened cream cheese, Cool Whip, powdered sugar, and lemon juice until smooth. Spread over the chilled crust and chill again briefly.
- Top with cherry pie filling and refrigerate for at least 4 hours before serving.
- Prep Time: 25 minutes
- Cook Time: None
- Category: Dessert
- Method: No-Bake
- Cuisine: American
Nutrition
- Serving Size: 1 slice
- Calories: 315
- Sugar: 24g
- Sodium: 210mg
- Fat: 22g
- Saturated Fat: 12g
- Unsaturated Fat: 8g
- Trans Fat: 0g
- Carbohydrates: 30g
- Fiber: 1g
- Protein: 4g
- Cholesterol: 55mg