No Bake Peanut Butter Oat Cups are the perfect treat for any occasion. Whether you need a quick snack, a healthy dessert option, or a delightful energy boost, these cups deliver on all fronts. With a creamy peanut butter oat base and a rich chocolate topping, they’re sure to be a hit with both kids and adults alike. Plus, they require no baking, making them an easy choice for busy days or last-minute gatherings.
Jump to:
- Why You’ll Love This Recipe
- Tools and Preparation
- Essential Tools and Equipment
- Importance of Each Tool
- Ingredients
- For the Base
- For the Topping
- How to Make No Bake Peanut Butter Oat Cups
- Step 1: Combine Peanut Butter and Maple Syrup
- Step 2: Mix in Oat Flour
- Step 3: Prepare Muffin Pan
- Step 4: Fill Muffin Pan
- Step 5: Melt Chocolate Topping
- Step 6: Add Chocolate Layer
- Step 7: Set in Refrigerator
- How to Serve No Bake Peanut Butter Oat Cups
- As a Quick Snack
- For Kids’ Lunchboxes
- As a Dessert
- How to Perfect No Bake Peanut Butter Oat Cups
- Best Side Dishes for No Bake Peanut Butter Oat Cups
- Common Mistakes to Avoid
- Refrigerator Storage
- Freezing No Bake Peanut Butter Oat Cups
- Reheating No Bake Peanut Butter Oat Cups
- Frequently Asked Questions
- Can I use other nut butters?
- How do I make these No Bake Peanut Butter Oat Cups vegan?
- What can I add for extra flavor?
- How do I prevent these cups from being too dry?
- Final Thoughts
- 📖 Recipe Card
Why You’ll Love This Recipe
- Quick and Easy: With just 10 minutes of prep time, you can whip up these delicious treats in no time.
- Nutritious Ingredients: Using peanut butter and oat flour means you’re getting wholesome ingredients without sacrificing flavor.
- Customizable Toppings: Feel free to add your favorite toppings like sprinkles or sea salt for added flair.
- Kid-Friendly: This recipe is perfect for little chefs looking to help in the kitchen while satisfying their sweet tooth.
- No-Bake Convenience: Enjoy the satisfaction of homemade treats without turning on the oven.
Tools and Preparation
Before you get started with these delightful No Bake Peanut Butter Oat Cups, gather your tools. Having everything ready will make the process smooth and enjoyable.
Essential Tools and Equipment
- Mixing bowl
- Microwave-safe bowl
- Muffin pan (or silicone muffin pan)
- Spoon or spatula
- Food processor (optional)
Importance of Each Tool
- Mixing bowl: A sturdy bowl is essential for combining your ingredients smoothly.
- Microwave-safe bowl: This allows you to easily melt the peanut butter and maple syrup without hassle.
- Muffin pan: Helps shape your cups perfectly; using liners makes removal much easier.
Ingredients
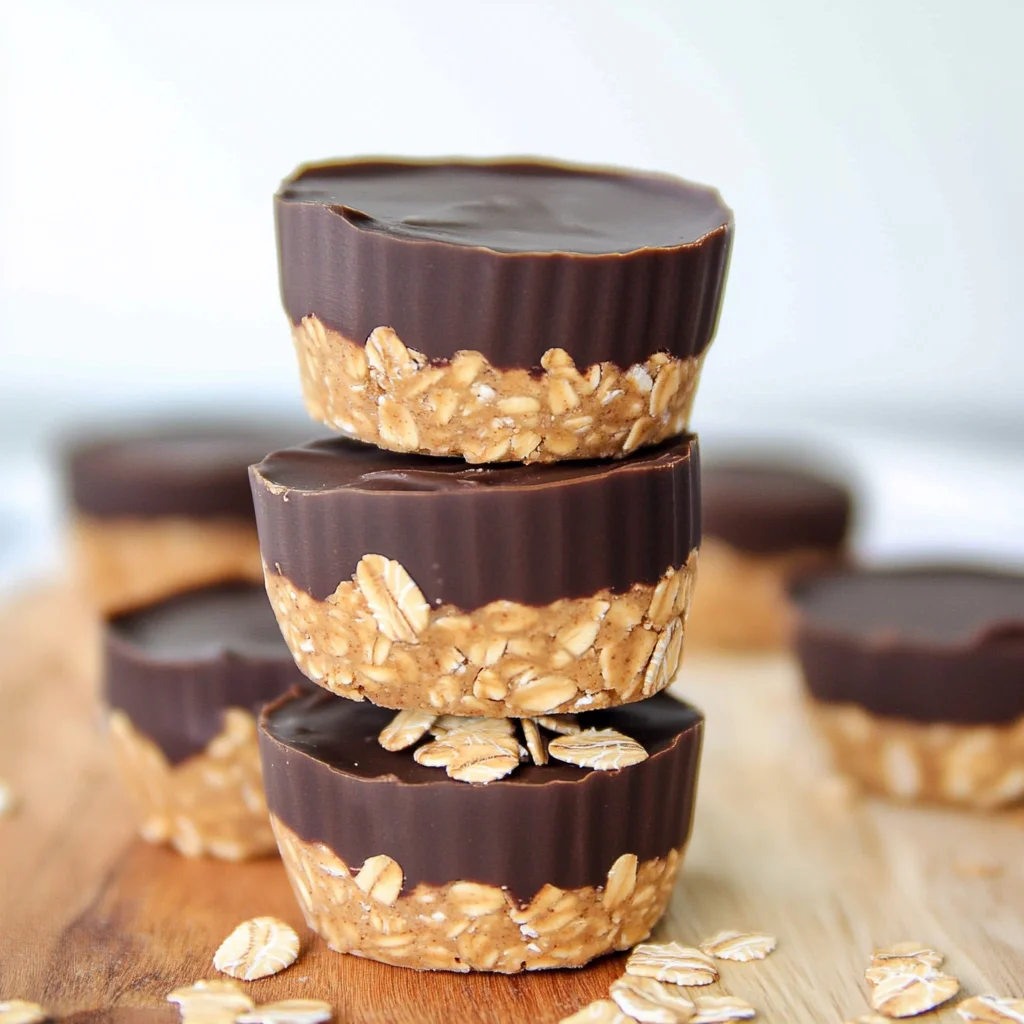
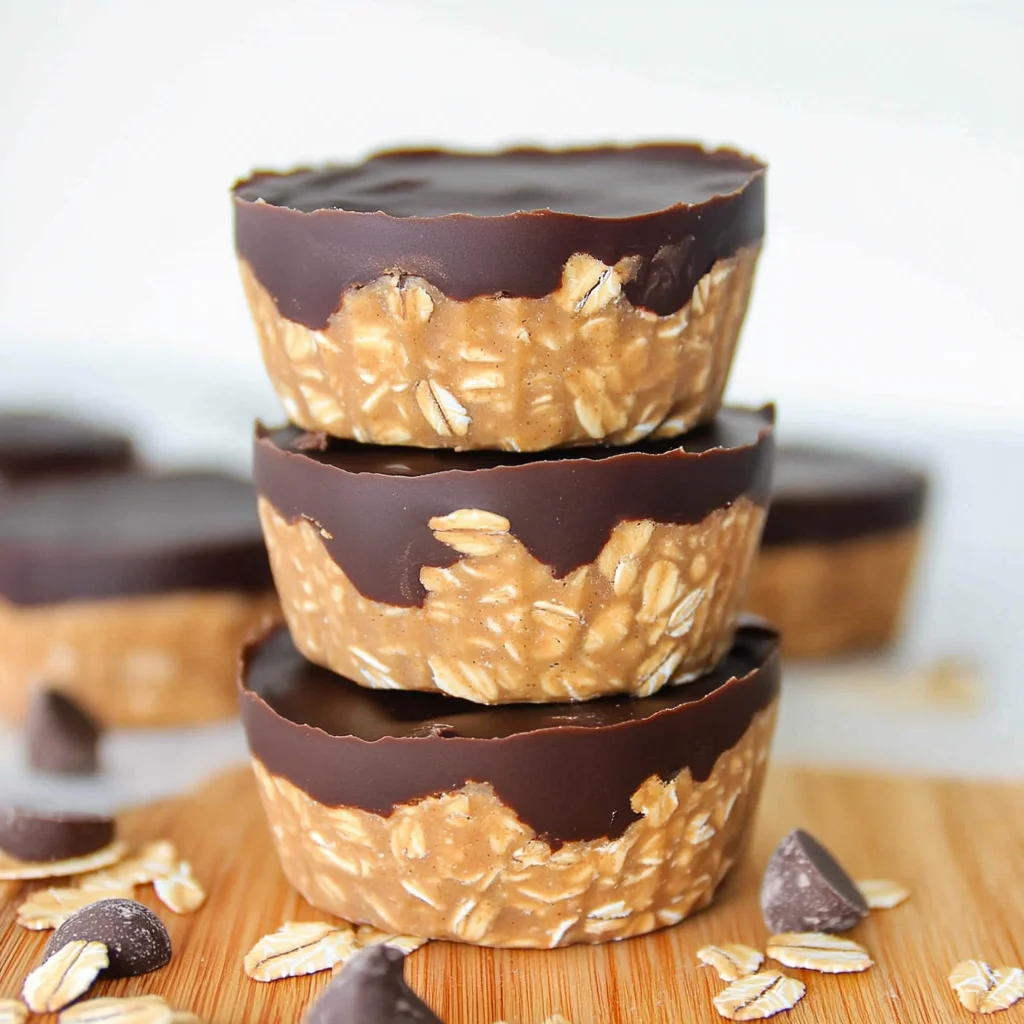
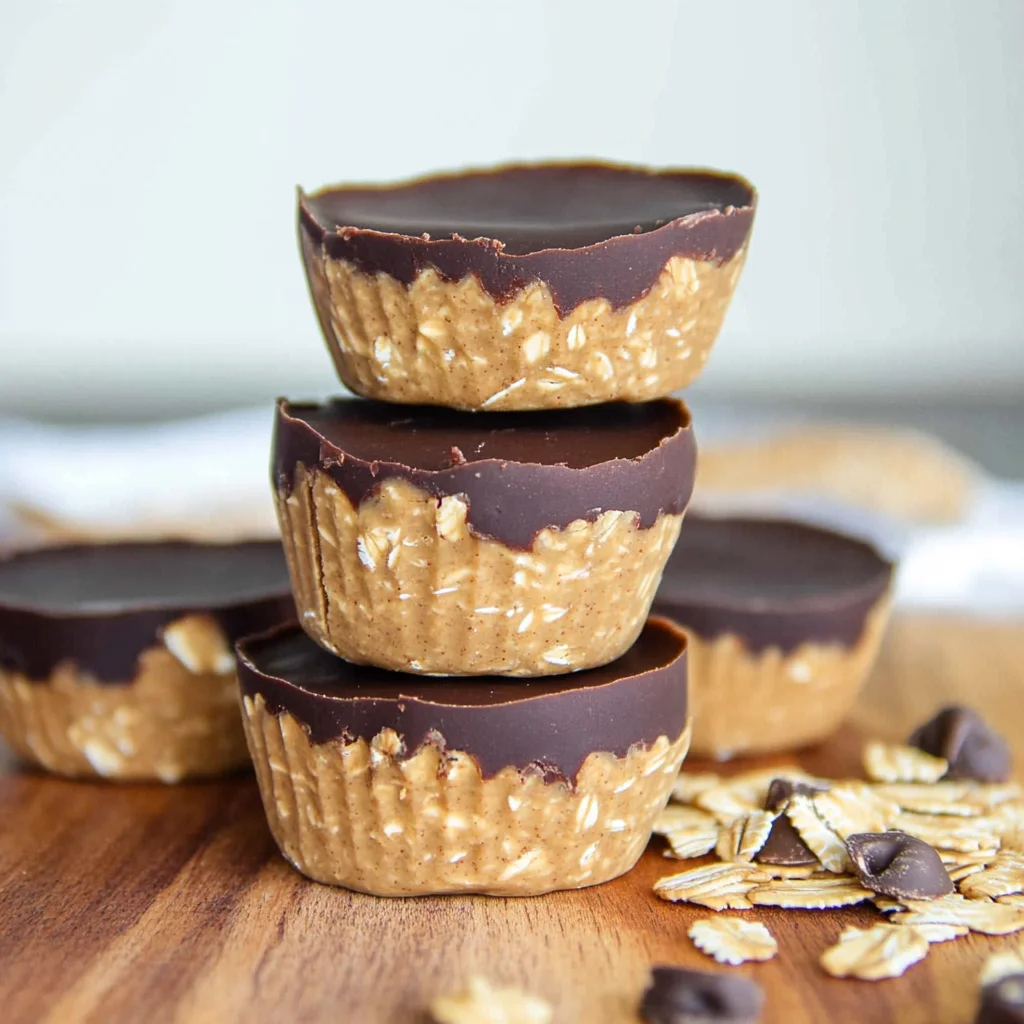
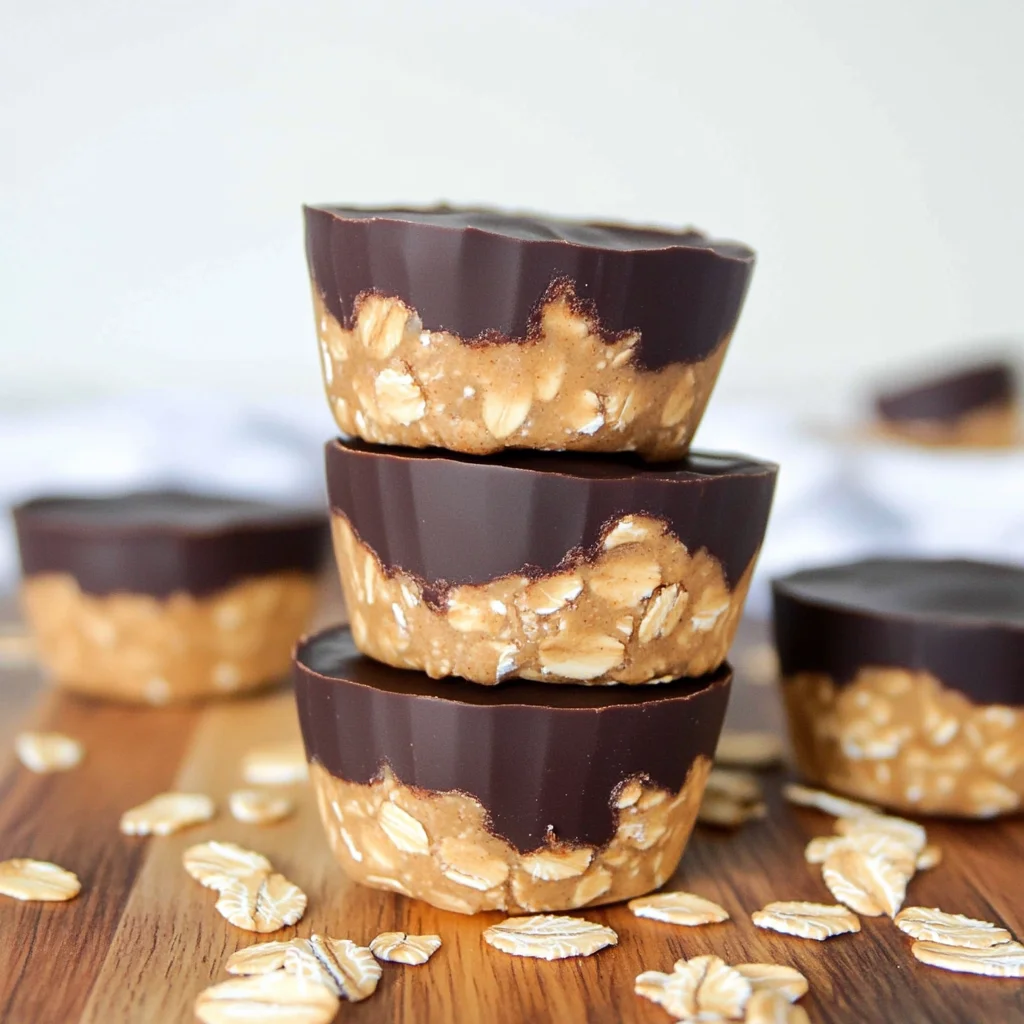
A creamy peanut butter oat layer topped with melted chocolate to make a tasty peanut butter chocolate treat that your whole family will love.
For the Base
- 1.5 cups peanut butter
- 1.5 cups oat flour (Rolled oats processed finely in a food processor)
- 1/4 cup maple syrup
For the Topping
- 1 cup chocolate chips
- 1 tsp coconut oil (optional)
How to Make No Bake Peanut Butter Oat Cups
Step 1: Combine Peanut Butter and Maple Syrup
Add your peanut butter and maple syrup to a medium-sized microwave-safe bowl. Microwave for 40-60 seconds. Stir thoroughly until the peanut butter and maple syrup are completely combined.
Step 2: Mix in Oat Flour
Slowly add the oat flour to the bowl. Mix well until it becomes very thick but easily moldable. If it appears too dry, add more maple syrup or peanut butter by the teaspoon until desired consistency is reached.
Step 3: Prepare Muffin Pan
Prepare your muffin pan by lining it with cupcake liners or use a silicone muffin pan for easier removal. Note that removing from traditional muffin pans can be tricky without liners.
Step 4: Fill Muffin Pan
Scoop the peanut butter oat mixture evenly into each muffin hole. Press down firmly with your fingers to ensure they hold together well.
Step 5: Melt Chocolate Topping
In a microwave-safe small bowl, combine chocolate chips and coconut oil. Heat in 30-second increments until fully melted and smooth, stirring in between sessions with a spoon.
Step 6: Add Chocolate Layer
Pour a layer of melted chocolate into each filled muffin hole. Smooth the top using the back of a spoon. Optionally, sprinkle flaky salt, sprinkles, or mini chocolate chips on top before the chocolate hardens.
Step 7: Set in Refrigerator
Refrigerate for 2-3 hours to let them set completely. Carefully remove from the muffin pan or liners. Store in an airtight container for up to 5 days for best freshness. Since they are not baked and use fresh ingredients like maple syrup, keep them refrigerated rather than at room temperature.
How to Serve No Bake Peanut Butter Oat Cups
No Bake Peanut Butter Oat Cups are a delightful treat that can be enjoyed in various ways. Whether you want a simple snack or an elegant dessert, these cups can fit the occasion perfectly.
As a Quick Snack
- On-the-go: These oat cups are perfect for busy days. Grab one as you head out the door for a quick energy boost.
- Post-workout fuel: Enjoy them after your workout for a delicious and nutritious recovery snack.
For Kids’ Lunchboxes
- Lunchbox treat: Pack a couple of these oat cups in your child’s lunch for a sweet surprise.
- Playdate snack: Serve them at playdates to keep the kids happy and satisfied.
As a Dessert
- Dinner party delight: Serve these cups as a simple yet impressive dessert option after dinner with friends.
- Movie night treat: Enjoy them while watching your favorite movie for a cozy night in.
How to Perfect No Bake Peanut Butter Oat Cups
To truly elevate your No Bake Peanut Butter Oat Cups, consider these helpful tips. They will ensure that your treats turn out perfectly every time.
- Use creamy peanut butter: Creamy peanut butter blends more smoothly with the other ingredients, creating a consistent texture.
- Add flavor variations: Experiment with different nut butters or add vanilla extract to enhance the flavor profile of your oat cups.
- Chill before serving: Allowing the cups to chill for longer than 2-3 hours can improve their firmness and make them easier to handle.
- Customize toppings: Try adding nuts, seeds, or dried fruit on top of the chocolate layer for added texture and taste.
Best Side Dishes for No Bake Peanut Butter Oat Cups
Pairing side dishes with your No Bake Peanut Butter Oat Cups can enhance your overall snacking experience. Here are some great ideas to consider.
- Fresh Fruit Salad: A mix of seasonal fruits adds freshness and balances the richness of the oat cups.
- Greek Yogurt Parfait: Layer yogurt with granola and berries for a wholesome side that complements the sweetness.
- Veggie Sticks with Hummus: Crunchy veggies like carrots and celery served with hummus provide a savory contrast.
- Nut Mix: A handful of mixed nuts offers healthy fats and protein, making it an excellent addition to your snack spread.
- Cheese Platter: A selection of cheese pairs beautifully with the sweet flavors of the oat cups.
- Chocolate-Dipped Strawberries: For those who love chocolate, this decadent side makes an indulgent combination.
- Rice Cakes with Nut Butter: Top rice cakes with various nut butters to create an easy-to-make side that echoes the main treat’s flavors.
Common Mistakes to Avoid
When making No Bake Peanut Butter Oat Cups, it’s easy to overlook a few key aspects. Here are some common mistakes and how to avoid them.
- Skipping the Mixing: Ensure you mix the peanut butter and oat flour thoroughly. A well-combined mixture will hold its shape better.
- Using the Wrong Pan: Avoid using a regular muffin pan without liners. Opt for cupcake liners or a silicone pan for easier removal.
- Not Measuring Ingredients Accurately: Be precise with your measurements, especially for peanut butter and oat flour. Too much or too little can affect the texture.
- Overheating Chocolate: Heat chocolate in short bursts. Overheating can cause it to seize, ruining the topping.
- Neglecting Chill Time: Don’t rush the chilling process. Allowing the cups to set properly ensures they maintain their shape when served.
Refrigerator Storage
- Store in an airtight container for up to 5 days.
- Keep in the refrigerator, as these treats contain fresh ingredients like maple syrup.
Freezing No Bake Peanut Butter Oat Cups
- These cups can be frozen for longer storage.
- Wrap each cup individually or store in a single layer in an airtight container.
- They can last up to 2 months in the freezer.
Reheating No Bake Peanut Butter Oat Cups
- Oven: Preheat to 350°F (175°C) and warm for about 5-10 minutes. This method helps retain flavor.
- Microwave: Heat one cup at a time for about 15-20 seconds. Be cautious not to melt completely.
- Stovetop: Place in a pan on low heat, covering with a lid until warmed through.
Frequently Asked Questions
Can I use other nut butters?
Yes, you can substitute peanut butter with almond or cashew butter for different flavors.
How do I make these No Bake Peanut Butter Oat Cups vegan?
Simply replace honey or maple syrup with agave syrup and ensure your chocolate chips are dairy-free.
What can I add for extra flavor?
Consider adding vanilla extract, cinnamon, or even crushed nuts for additional taste and texture.
How do I prevent these cups from being too dry?
If your mixture seems dry, add a little extra maple syrup or peanut butter until it reaches a moldable consistency.
Final Thoughts
These No Bake Peanut Butter Oat Cups are not only delicious but also incredibly versatile. You can customize them with various toppings or mix-ins according to your preferences. Whether you’re looking for a quick snack or a sweet treat after dinner, these cups are sure to satisfy your cravings. Give this recipe a try and enjoy making it your own!
Did You Enjoy Making This Recipe? Please rate this recipe with ⭐⭐⭐⭐⭐ or leave a comment.
📖 Recipe Card
Print
No Bake Peanut Butter Oat Cups
- Total Time: 10 minutes
- Yield: Makes approximately 12 servings 1x
Description
No Bake Peanut Butter Oat Cups are a delicious and versatile treat that everyone will love. Perfect for any occasion, these cups combine a creamy peanut butter oat base with a rich chocolate topping, making them an ideal choice for quick snacks, healthy desserts, or energy-boosting bites. With just 10 minutes of prep time and no baking required, they fit seamlessly into busy lifestyles and are simple enough for kids to help make. Customize them with sprinkles or sea salt for added flair and enjoy a wholesome dessert that satisfies both kids and adults alike.
Ingredients
- 1.5 cups creamy peanut butter
- 1.5 cups oat flour (or finely processed rolled oats)
- 1/4 cup maple syrup
- 1 cup chocolate chips
- 1 tsp coconut oil (optional)
Instructions
- In a microwave-safe bowl, combine peanut butter and maple syrup. Microwave for 40-60 seconds until melted and stir to combine.
- Gradually mix in oat flour until thick but moldable; adjust consistency with more maple syrup if needed.
- Line muffin pan with cupcake liners or use silicone molds for easy removal.
- Scoop the mixture into each muffin hole, pressing down firmly.
- Melt chocolate chips and coconut oil together in intervals until smooth.
- Pour melted chocolate over each cup and optionally sprinkle toppings before it hardens.
- Refrigerate for 2-3 hours until set, then store in an airtight container.
- Prep Time: 10 minutes
- Cook Time: 0 minutes
- Category: Dessert
- Method: No-Bake
- Cuisine: American
Nutrition
- Serving Size: 1 cup (45g)
- Calories: 203
- Sugar: 7g
- Sodium: 5mg
- Fat: 14g
- Saturated Fat: 3g
- Unsaturated Fat: 11g
- Trans Fat: 0g
- Carbohydrates: 18g
- Fiber: 2g
- Protein: 6g
- Cholesterol: 0mg