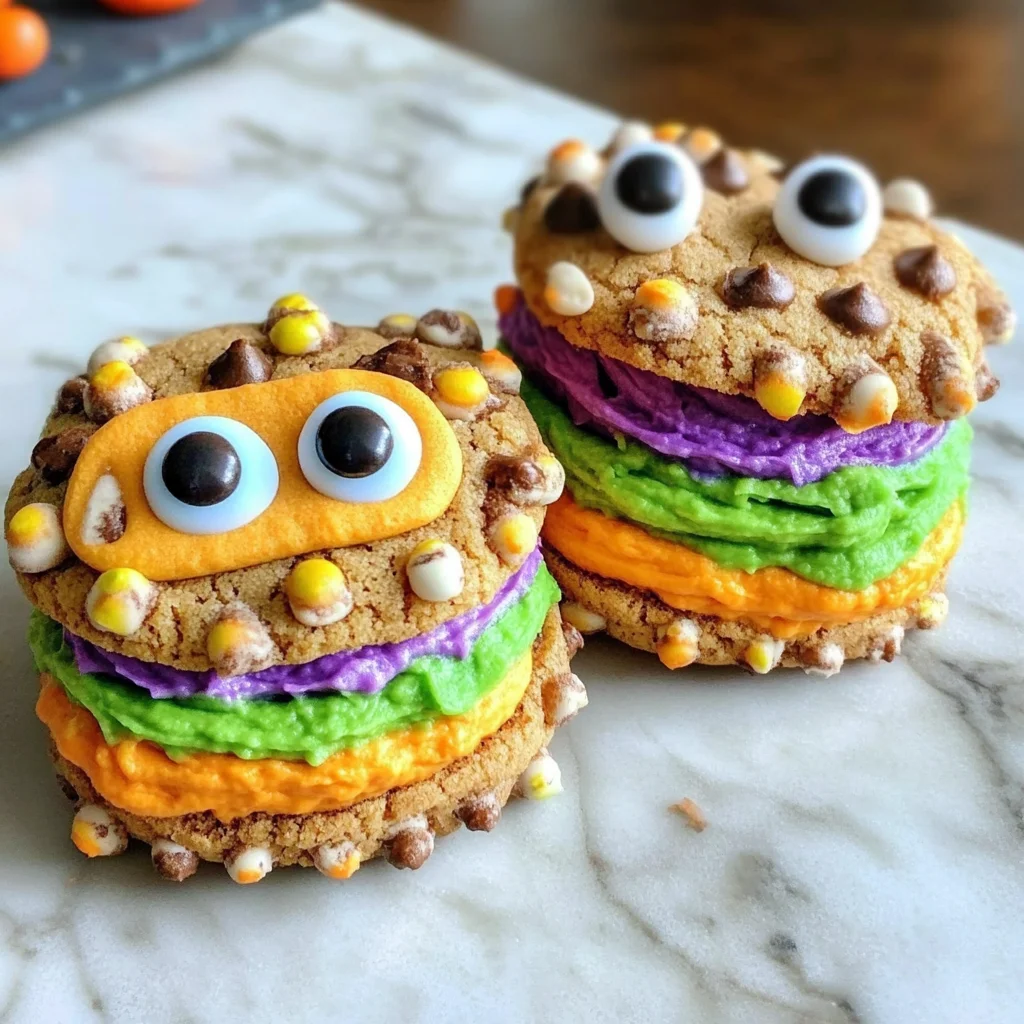
Monster Cookie Sandwiches are an exciting treat that brings fun and flavor to any occasion! Perfect for Halloween parties or family gatherings, these colorful cookie sandwiches feature delightful frosting and candy eyes that make them look like playful monsters. With their easy preparation and vibrant appearance, they are sure to be a hit with both kids and adults alike!
Jump to:
- Why You’ll Love This Recipe
- Tools and Preparation
- Essential Tools and Equipment
- Importance of Each Tool
- Ingredients
- For the Cookies
- For the Frosting
- For Decoration
- How to Make Monster Cookie Sandwiches
- Step 1: Make the Frosting
- Step 2: Color the Frosting
- Step 3: Prepare Piping Bags (Optional)
- Step 4: Assemble the Cookie Sandwiches
- Step 5: Top with Another Cookie
- Step 6: Add Candy Eyes
- Step 7: Let Set & Store
- How to Serve Monster Cookie Sandwiches
- For Halloween Parties
- As a Fun Family Treat
- For School Events
- At Birthday Celebrations
- How to Perfect Monster Cookie Sandwiches
- Best Side Dishes for Monster Cookie Sandwiches
- Common Mistakes to Avoid
- Storage & Reheating Instructions
- Refrigerator Storage
- Freezing Monster Cookie Sandwiches
- Reheating Monster Cookie Sandwiches
- Frequently Asked Questions
- Can I customize the filling of Monster Cookie Sandwiches?
- How long do Monster Cookie Sandwiches last?
- What types of food coloring work best for Monster Cookie Sandwiches?
- Can I make Monster Cookie Sandwiches ahead of time?
- Are Monster Cookie Sandwiches suitable for kids?
- Final Thoughts
- 📖 Recipe Card
Why You’ll Love This Recipe
- Easy to Make: With simple ingredients and straightforward steps, anyone can whip up these delicious sandwiches in no time.
- Customizable Colors: You can use various food coloring options to match any holiday or theme, making them perfect for different occasions.
- Fun Presentation: The addition of candy eyes gives each sandwich a unique character, making them not just tasty but visually appealing as well.
- Great for Sharing: With 18–20 sandwiches, there’s plenty to share at parties or keep for family treats throughout the week.
- Delicious Flavor: The combination of classic chocolate chip cookies with sweet frosting is a flavor combination loved by everyone.
Tools and Preparation
To create your Monster Cookie Sandwiches, you’ll need some essential tools. Having the right equipment on hand will make the process smoother and more enjoyable.
Essential Tools and Equipment
- Mixing bowl
- Electric mixer or whisk
- Piping bags (optional)
- Cookie sheet
- Spatula
Importance of Each Tool
- Mixing bowl: A spacious bowl allows for easy mixing of ingredients without spills.
- Electric mixer or whisk: This tool helps achieve light, fluffy frosting without much effort.
- Piping bags (optional): Using piping bags provides precision when applying frosting to cookies, allowing for creative designs.
Ingredients
Perfect for Halloween Parties or Fun Family Treats!
🛒 Ingredients
(Makes 18–20 sandwiches)
For the Cookies
- 36–40 Chips Ahoy cookies (for 18–20 sandwich pairs)
For the Frosting
- 1 cup (2 sticks) unsalted butter, softened
- 4 cups powdered sugar
- 2–3 tablespoons milk or heavy cream
- 2 teaspoons vanilla extract
For Decoration
- Food coloring (Halloween colors like orange, green, purple, etc.)
- Candy eyes (variety of sizes if desired)
How to Make Monster Cookie Sandwiches
Step 1: Make the Frosting
In a medium bowl, beat softened butter and powdered sugar together until creamy. Add vanilla extract along with 2–3 tablespoons of milk or cream. Continue beating until light and fluffy.
Step 2: Color the Frosting
Divide your frosting into separate bowls based on how many colors you want. Add a few drops of food coloring to each bowl and mix until you achieve vibrant hues.
Step 3: Prepare Piping Bags (Optional)
Spoon the colored frosting into piping bags. You can either leave them without a tip or use a plain round tip for more control while decorating.
Step 4: Assemble the Cookie Sandwiches
Pair up your cookies according to size and shape. Flip one cookie from each pair upside down. Pipe or spread a generous dollop of frosting onto the flat side of this cookie.
Step 5: Top with Another Cookie
Place the second cookie on top of the frosted cookie to create your sandwich.
Step 6: Add Candy Eyes
While the frosting is still soft, gently press candy eyes into the sides so they peek out like monster eyes. Feel free to get creative—use one eye, two eyes, three eyes, or more!
Step 7: Let Set & Store
Allow the frosting to firm up before serving. If you’re not serving immediately, store your Monster Cookie Sandwiches in an airtight container in the fridge for up to 1–2 days.
⚠️ Note: In humid climates, be cautious about storing them too long as they may become soggy.
Enjoy making these delightful Monster Cookie Sandwiches! They are sure to bring smiles all around!
How to Serve Monster Cookie Sandwiches
Monster Cookie Sandwiches are not only a delightful treat but also a fun addition to any gathering. Here are some creative ways to present and serve these whimsical cookies.
For Halloween Parties
- Creative Platter: Arrange the sandwiches on a spooky-themed platter with ghostly decorations.
- Individual Treat Bags: Place each sandwich in clear bags tied with orange or black ribbons for guests to take home.
As a Fun Family Treat
- Make Your Own Station: Set up a DIY sandwich station where family members can assemble their own monster cookie creations.
- Themed Movie Night: Pair these sandwiches with a Halloween movie marathon for an entertaining evening.
For School Events
- Classroom Snack: Individually wrap each sandwich for easy distribution during classroom parties.
- Dessert Table: Include them as part of a larger dessert table featuring various sweet treats for kids.
At Birthday Celebrations
- Monster Cake Alternative: Use these cookie sandwiches as a fun alternative to traditional birthday cake.
- Cookie Decorating Contest: Host a contest where kids can decorate their cookie sandwiches with additional frosting and candy toppings.
How to Perfect Monster Cookie Sandwiches
To ensure your Monster Cookie Sandwiches turn out perfectly every time, consider these helpful tips.
- Use Fresh Ingredients: Fresh butter and powdered sugar will make your frosting lighter and fluffier.
- Chill the Cookies: Refrigerate cookies before assembling to prevent them from breaking when you add frosting.
- Experiment with Colors: Get creative with food coloring to make your frosting as vibrant as possible for festive occasions.
- Frost Generously: Don’t be shy with the frosting; a thick layer makes the sandwiches extra delicious and fun!
- Let Them Set: Allow the assembled sandwiches to sit for a bit so the frosting firms up, making them easier to handle.
Best Side Dishes for Monster Cookie Sandwiches
Pairing side dishes with your Monster Cookie Sandwiches can elevate your dessert experience. Here are some great suggestions to complement your sweet treat.
- Fruit Skewers: Colorful fruit skewers offer a refreshing contrast to the sweetness of the cookies.
- Mini Cupcakes: Bite-sized cupcakes allow guests to enjoy more sweetness without overindulging.
- Popcorn Mix: A mix of popcorn with candy corn and chocolate drizzles adds a crunchy snack option.
- Veggie Platter: Balance out the sweetness with fresh veggies served alongside ranch dip for a healthy touch.
- Cheese Board: A selection of cheeses can provide savory bites that contrast well with the sugary flavors of the cookies.
- Hot Chocolate Bar: Warm drinks like hot chocolate topped with whipped cream create a cozy pairing for your treats.
Common Mistakes to Avoid
When making Monster Cookie Sandwiches, it’s easy to overlook a few details. Here are some common mistakes to steer clear of.
- Overmixing the Frosting: Mixing too long can lead to a runny consistency. Beat until just combined and fluffy for the best results.
- Using Too Much Food Coloring: While vibrant colors are fun, overdoing it can alter frosting texture. Start with small amounts and add more gradually.
- Ignoring Cookie Size Matchup: Pairing mismatched cookie sizes results in uneven sandwiches. Always choose cookies that are similar in size for a better fit.
- Not Letting Frosting Set: Serving too soon can cause frosting to squish out. Allow the sandwiches to rest so the frosting firms up properly.
- Storing Incorrectly: Leaving them uncovered or in non-airtight containers can dry them out. Use airtight containers to keep them fresh.
Storage & Reheating Instructions
Refrigerator Storage
- Store Monster Cookie Sandwiches in an airtight container.
- They will stay fresh for 1–2 days in the fridge.
Freezing Monster Cookie Sandwiches
- Wrap individual sandwiches in plastic wrap before placing them in a freezer-safe container.
- They can be frozen for up to 3 months.
Reheating Monster Cookie Sandwiches
- Oven: Preheat to 350°F (175°C). Place on a baking tray for about 5 minutes until slightly warm.
- Microwave: Heat individually for about 10-15 seconds for a soft treat.
- Stovetop: Use a pan on low heat, flipping gently until warmed through.
Frequently Asked Questions
Here are some common questions about Monster Cookie Sandwiches that might help you.
Can I customize the filling of Monster Cookie Sandwiches?
Yes! You can use different flavored frostings or even add sprinkles and chocolate chips.
How long do Monster Cookie Sandwiches last?
When stored correctly, they can last up to 2 days in the fridge or up to 3 months when frozen.
What types of food coloring work best for Monster Cookie Sandwiches?
Gel food coloring is recommended as it provides vibrant colors without changing the consistency of the frosting significantly.
Can I make Monster Cookie Sandwiches ahead of time?
Absolutely! You can prepare the cookies and frosting separately and assemble them just before serving for freshness.
Are Monster Cookie Sandwiches suitable for kids?
Yes! They’re fun, colorful, and perfect for children’s parties or family gatherings. Just supervise with food coloring and candy eyes!
Final Thoughts
Monster Cookie Sandwiches are not only delightful but also versatile treats perfect for any occasion. With endless customization options, you can easily adapt the colors and flavors to suit your preferences. Try making these fun sandwiches at your next gathering; they’re sure to be a hit!
Did You Enjoy Making This Recipe? Please rate this recipe with ⭐⭐⭐⭐⭐ or leave a comment.
📖 Recipe Card
Print
Monster Cookie Sandwiches
- Total Time: 20 minutes
- Yield: Makes approximately 18–20 sandwiches 1x
Description
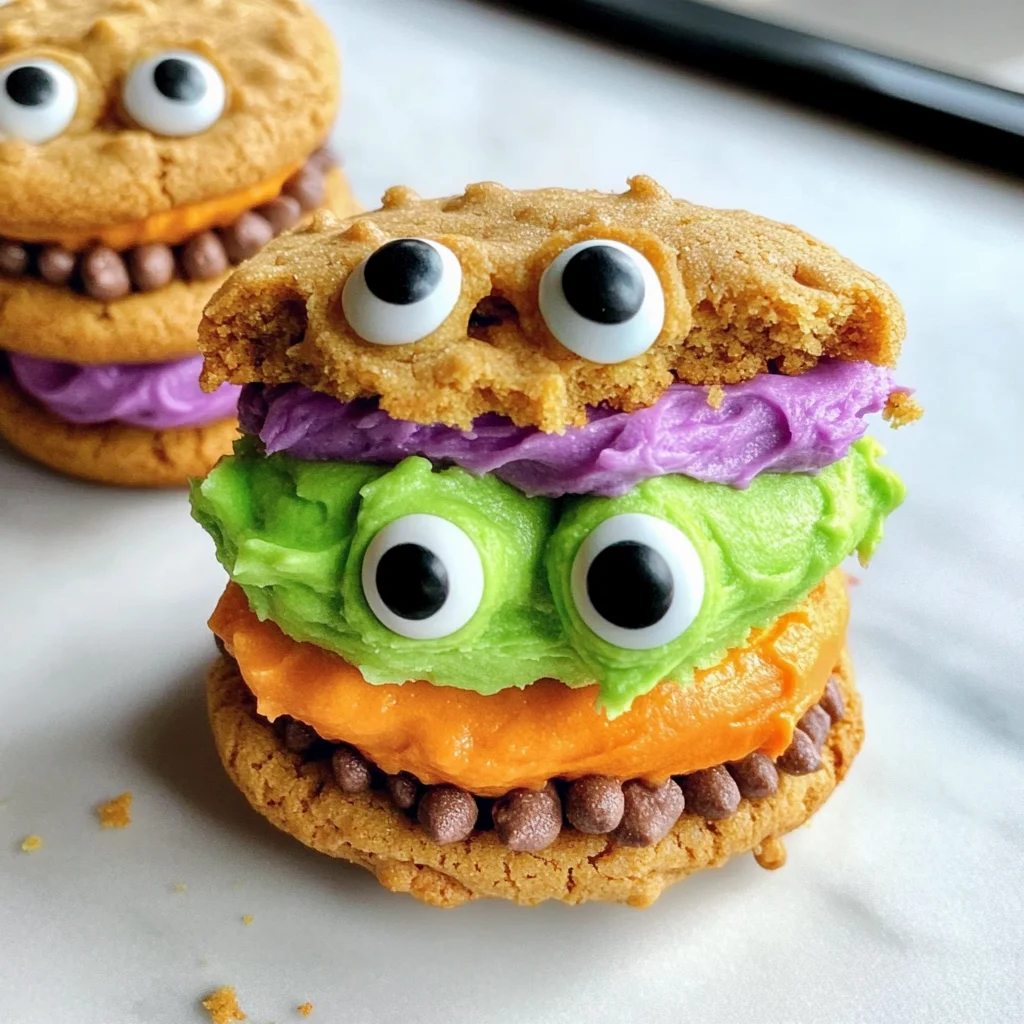
Monster Cookie Sandwiches are a delightful and whimsical treat that will brighten up any gathering, especially during Halloween! These vibrant cookie sandwiches are filled with creamy frosting and adorned with playful candy eyes, making them not only delicious but visually captivating. Easy to assemble, they’re perfect for family fun or festive parties. With endless customization options, you can adjust the colors and decorations to suit any occasion. Get ready to impress your guests and create unforgettable memories with these fun-filled Monster Cookie Sandwiches!
Ingredients
- 36–40 Chips Ahoy cookies
- 1 cup (2 sticks) unsalted butter, softened
- 4 cups powdered sugar
- 2–3 tablespoons milk or heavy cream
- 2 teaspoons vanilla extract
- Food coloring (orange, green, purple, etc.)
- Candy eyes
Instructions
- In a mixing bowl, beat softened butter and powdered sugar until creamy. Add vanilla and milk; beat until fluffy.
- Divide frosting into bowls and color with food coloring as desired.
- Optionally, place frosting in piping bags for decorating.
- Pair cookies by size; flip one cookie from each pair upside down. Spread or pipe frosting generously on the flat side.
- Top with another cookie to form a sandwich.
- Press candy eyes into the frosting while soft.
- Allow sandwiches to set before serving.
- Prep Time: 20 minutes
- Cook Time: 0 minutes
- Category: Dessert
- Method: No cooking
- Cuisine: American
Nutrition
- Serving Size: 1 sandwich
- Calories: 210
- Sugar: 18g
- Sodium: 150mg
- Fat: 10g
- Saturated Fat: 6g
- Unsaturated Fat: 3g
- Trans Fat: 0g
- Carbohydrates: 30g
- Fiber: 0g
- Protein: 2g
- Cholesterol: 25mg