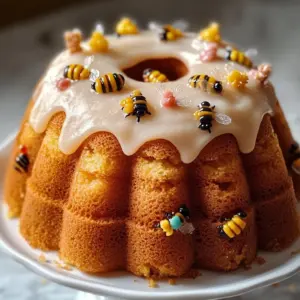
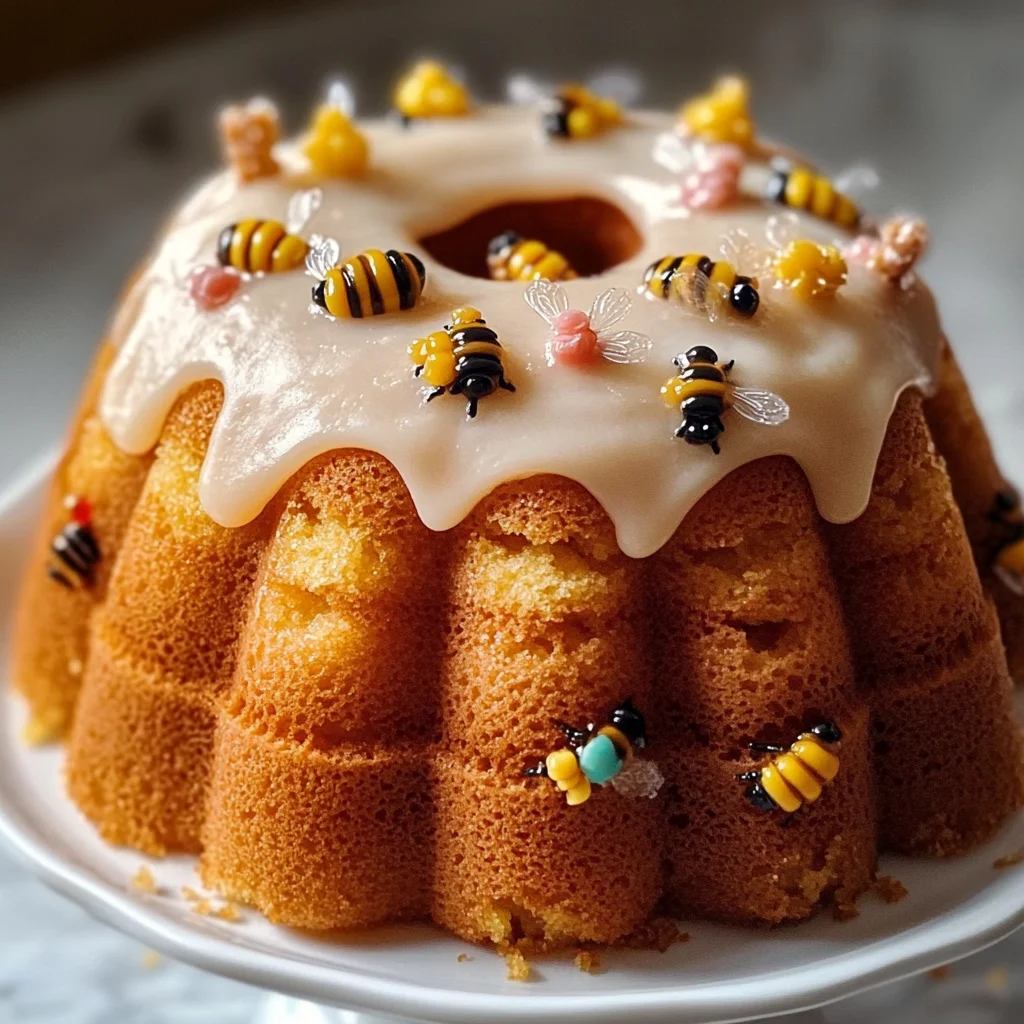
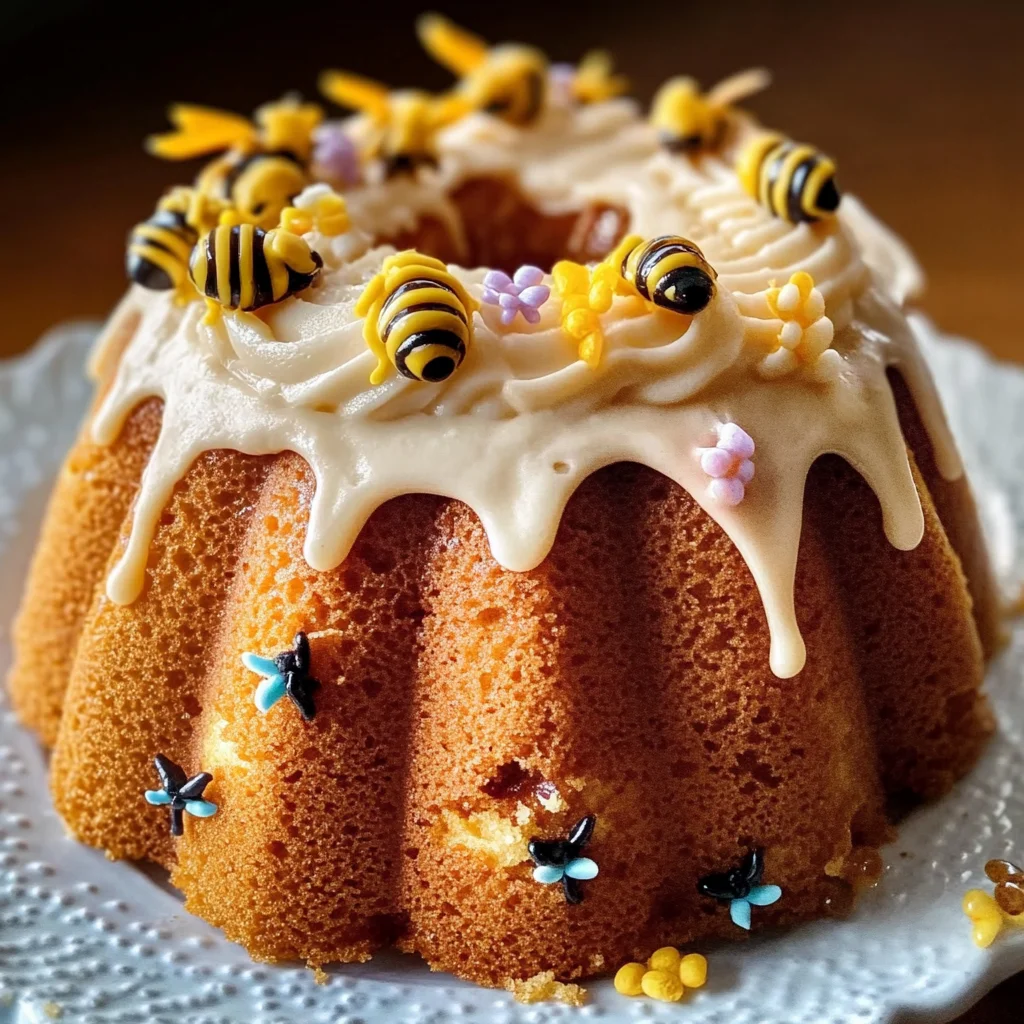
This Beehive Cake is a delightful treat that combines the rich flavors of honey with a moist bundt cake texture. It’s perfect for celebrations, gatherings, or just to satisfy your sweet tooth. The unique design, showcasing adorable candy bees, makes this dessert not only delicious but also visually stunning. Whether you’re hosting an Easter brunch or a spring picnic, this cake is sure to impress your guests and bring joy to any occasion.
Jump to:
- Why You’ll Love This Recipe
- Tools and Preparation
- Essential Tools and Equipment
- Importance of Each Tool
- Ingredients
- How to Make Beehive Cake
- Step 1: Preheat the Oven
- Step 2: Prepare Dry Ingredients
- Step 3: Mix Wet Ingredients
- Step 4: Combine Mixtures
- Step 5: Bake the Cake
- Step 6: Prepare Honey Frosting
- Step 7: Assemble Your Beehive Cake
- How to Serve Beehive Cake
- For a Family Gathering
- At a Festive Celebration
- As a Brunch Treat
- For Special Occasions
- How to Perfect Beehive Cake
- Best Side Dishes for Beehive Cake
- Common Mistakes to Avoid
- Storage & Reheating Instructions
- Refrigerator Storage
- Freezing Beehive Cake
- Reheating Beehive Cake
- Frequently Asked Questions
- What is a Beehive Cake?
- Can I use different flavors for my Beehive Cake?
- How do I make my Beehive Cake more moist?
- Is there a gluten-free option for Beehive Cake?
- How long does the Beehive Cake last once baked?
- Final Thoughts
- 📖 Recipe Card
Why You’ll Love This Recipe
- Easy to Make: With straightforward instructions, even novice bakers can whip up this delicious cake.
- Unique Presentation: The beehive shape and candy bee decorations make it a standout centerpiece.
- Versatile Flavor: The honey-infused cake pairs well with various occasions, from casual get-togethers to festive celebrations.
- Perfect for Sharing: This recipe serves 10, making it ideal for family gatherings or potlucks.
- Decadent Frosting: The creamy honey frosting adds a luscious finish that enhances the overall flavor.
Tools and Preparation
Before you start baking your Beehive Cake, gather your tools and prepare your workspace. Having everything ready will make the process smooth and enjoyable.
Essential Tools and Equipment
- Stand mixer
- Bundt pan
- Mixing bowls
- Whisk
- Serrated knife
- Wire rack
Importance of Each Tool
- Stand mixer: Ensures that ingredients are mixed thoroughly, leading to a fluffy cake texture.
- Bundt pan: Creates the beautiful shape of the beehive cake that makes it visually appealing.
- Wire rack: Allows the cake to cool evenly without getting soggy on the bottom.
Ingredients
Ingredients:
– 2 3/4 cups all-purpose flour
– 1 teaspoon baking powder
– 1 teaspoon baking soda
– 2 teaspoons cinnamon
– 1/4 teaspoon ground ginger
– 1/2 teaspoon salt
– 5 tablespoons unsalted butter (softened)
– 1/2 cup brown sugar
– 4 eggs
– 1 1/2 cups honey
– 1 cup sour cream
– 1 teaspoon vanilla extract
– 4 ounces cream cheese (softened)
– 6 tablespoons unsalted butter (softened)
– 1/4 cup honey
– 1/2 teaspoons vanilla extract
– Pinch of salt
– 1 cup confectioners’ sugar
– sugar candy bees (optional)
How to Make Beehive Cake
Step 1: Preheat the Oven
Begin by preheating your oven to 325 degrees F. Grease and flour a bundt pan and set it aside.
Step 2: Prepare Dry Ingredients
In a large bowl, whisk together:
* all-purpose flour
* baking powder
* baking soda
* cinnamon
* ground ginger
* salt
Step 3: Mix Wet Ingredients
In the bowl of a stand mixer fitted with the paddle attachment:
1. Cream together the softened butter and brown sugar until fluffy.
2. Add in the eggs one at a time, mixing well after each addition.
3. Finally, mix in the honey and vanilla extract.
Step 4: Combine Mixtures
Gradually add the dry ingredients to the wet mixture:
1. Mix until just combined.
2. Add in the sour cream and beat until just incorporated.
Step 5: Bake the Cake
Pour the batter into your prepared bundt pan:
1. Bake for 55–65 minutes or until a toothpick inserted in the center comes out clean.
2. Allow cooling on a wire rack for about 15 minutes before inverting and removing from the pan.
Step 6: Prepare Honey Frosting
While your cake cools:
1. In a stand mixer, beat together cream cheese and softened butter on medium speed until smooth.
2. Add honey, vanilla extract, and salt; mix on low until combined.
3. Gradually add confectioners’ sugar and beat until light and fluffy.
Step 7: Assemble Your Beehive Cake
To create the beehive look:
1. Cut off rounded domes from both halves of the cooled cake using a serrated knife to create flat surfaces.
2. Spread frosting on each cut side before putting them back together.
3. Top with additional honey frosting and decorate with candy bees if desired.
Now you have an adorable Beehive Cake ready to enjoy!
How to Serve Beehive Cake
Serving your Beehive Cake can be as delightful as making it. This charming dessert is perfect for various occasions and can be presented in creative ways to impress your guests.
For a Family Gathering
- Slice it Up: Cut the cake into generous wedges and serve with a dollop of whipped cream on the side.
- Garnish with Fresh Fruits: Add mixed berries or sliced peaches around the cake for a colorful presentation.
At a Festive Celebration
- Bee-Themed Decor: Use bee-shaped napkins and plates to enhance the theme of your dessert.
- Mini Portions: Create mini versions of the Beehive Cake using smaller bundt pans for individual servings.
As a Brunch Treat
- Pair with Coffee: Serve slices alongside freshly brewed coffee or tea for an inviting brunch option.
- Complement with Yogurt: Offer a side of honey-flavored yogurt to enhance the honey flavor of the cake.
For Special Occasions
- Dress it Up: Add edible flowers on top for an elegant touch at weddings or anniversaries.
- Serve with Ice Cream: A scoop of vanilla ice cream complements the warm, honey flavors perfectly.
How to Perfect Beehive Cake
To achieve the best Beehive Cake, keep in mind these helpful tips that will elevate your baking experience.
- Use Room Temperature Ingredients: Make sure butter, eggs, and cream cheese are at room temperature for better mixing and texture.
- Don’t Overmix Batter: Mix until just combined to avoid a dense cake; overmixing can lead to toughness.
- Check Oven Temperature: Ensure your oven is calibrated correctly; an oven thermometer can help maintain accuracy during baking.
- Cool Completely Before Frosting: Allow your cake to cool completely to prevent the frosting from melting off.
Best Side Dishes for Beehive Cake
Pairing your Beehive Cake with complementary side dishes can enhance its flavors and create a balanced meal. Here are some great options:
- Fresh Fruit Salad: A refreshing mix of seasonal fruits adds brightness and balances sweetness.
- Honey Glazed Carrots: Sweet, caramelized carrots bring out the honey flavor in the cake beautifully.
- Creamy Coleslaw: The crunchiness and acidity of coleslaw provide a nice contrast to the soft texture of the cake.
- Roasted Nuts: A bowl of mixed roasted nuts offers a savory element that pairs well with sweets.
- Vanilla Ice Cream: A classic pairing that melts perfectly over warm slices of cake for extra indulgence.
- Spiced Chai Tea: The warm spices in chai complement the cinnamon in the cake, making it a cozy addition.
Common Mistakes to Avoid
Baking a Beehive Cake can be a delightful experience, but there are common pitfalls to watch for to ensure your cake turns out perfectly.
- Skipping the flour sifting: Not sifting flour can lead to uneven texture. Always sift your flour before measuring to avoid clumps.
- Overmixing the batter: Overmixing can make the cake dense. Mix just until combined; a few lumps are okay.
- Incorrect oven temperature: Baking at the wrong temperature can affect cooking time and texture. Use an oven thermometer to ensure accuracy.
- Not cooling properly: Removing the cake too soon can cause it to break apart. Allow it to cool in the pan for at least 15 minutes before inverting.
- Underestimating frosting needs: Not making enough frosting can leave your Beehive Cake looking sparse. Always prepare extra frosting for decorating.
Storage & Reheating Instructions
Refrigerator Storage
- item Store the Beehive Cake in an airtight container.
- item It will last up to 5 days in the refrigerator.
Freezing Beehive Cake
- item Wrap individual slices in plastic wrap and place them in a freezer-safe bag.
- item The cake can be frozen for up to 3 months without compromising taste.
Reheating Beehive Cake
- Oven: Preheat your oven to 350°F, wrap the cake in foil, and heat for about 15-20 minutes.
- Microwave: Heat individual slices on medium power for about 30 seconds, checking for warmth.
- Stovetop: Place a slice in a skillet over low heat, cover, and warm for about 5 minutes.
Frequently Asked Questions
Here are some common questions about making and enjoying Beehive Cake.
What is a Beehive Cake?
A Beehive Cake is a honey-flavored bundt cake that resembles a beehive, often decorated with honey frosting and candy bees.
Can I use different flavors for my Beehive Cake?
Yes! You can experiment with various flavors by adding spices or using different extracts like almond or lemon.
How do I make my Beehive Cake more moist?
To enhance moisture, ensure you don’t overbake and consider adding an extra tablespoon of honey or sour cream.
Is there a gluten-free option for Beehive Cake?
Absolutely! Substitute all-purpose flour with a gluten-free blend that measures cup-for-cup equivalent.
How long does the Beehive Cake last once baked?
The cake can stay fresh for about 5 days when stored properly in the refrigerator.
Final Thoughts
The Beehive Cake is not only adorable but also incredibly delicious. Its honey flavor makes it perfect for springtime gatherings or any special occasion. Feel free to customize it with different frostings or decorations according to your preference!
Did You Enjoy Making This Recipe? Please rate this recipe with ⭐⭐⭐⭐⭐ or leave a comment.
📖 Recipe Card
Print
Beehive Cake
- Total Time: 1 hour 25 minutes
- Yield: Serves approximately 10 slices 1x
Description
Indulge in the charm of our Beehive Cake, a delightful honey-infused bundt cake that’s as pleasing to the eye as it is to the palate. This cake features a moist texture and is adorned with a luscious honey frosting and adorable candy bee decorations, making it an irresistible centerpiece for any gathering. Perfect for Easter brunches, spring picnics, or festive celebrations, this dessert combines flavor and fun in every slice. Whether you’re baking for family or friends, this recipe promises to bring joy and sweetness to your table.
Ingredients
- 2 3/4 cups all-purpose flour
- 1 teaspoon baking powder
- 1 teaspoon baking soda
- 2 teaspoons cinnamon
- 1/4 teaspoon ground ginger
- 1/2 teaspoon salt
- 5 tablespoons unsalted butter (softened)
- 1/2 cup brown sugar
- 4 eggs
- 1 1/2 cups honey
- 1 cup sour cream
- 1 teaspoon vanilla extract
- 4 ounces cream cheese (softened)
- 6 tablespoons unsalted butter (softened)
- 1/4 cup honey
- 1/2 teaspoons vanilla extract
- pinch of salt
- 1 cup confectioners' sugar
- sugar candy bees (optional)
Instructions
- Preheat your oven to 325°F and grease a bundt pan.
- In a bowl, whisk together flour, baking powder, baking soda, cinnamon, and salt.
- Cream softened butter and brown sugar in a stand mixer; add eggs one at a time, then mix in honey and vanilla.
- Gradually combine dry ingredients with the wet mixture. Stir in sour cream until just incorporated.
- Pour batter into the bundt pan and bake for 55–65 minutes. Allow cooling for about 15 minutes before removing from the pan.
- For frosting, beat cream cheese and butter until smooth; add honey, vanilla, salt, and gradually mix in confectioners' sugar until fluffy.
- Assemble by frosting between layers of cake and decorating as desired.
- Prep Time: 20 minutes
- Cook Time: 65 minutes
- Category: Dessert
- Method: Baking
- Cuisine: American
Nutrition
- Serving Size: 1 slice (100g)
- Calories: 340
- Sugar: 29g
- Sodium: 150mg
- Fat: 14g
- Saturated Fat: 8g
- Unsaturated Fat: 5g
- Trans Fat: 0g
- Carbohydrates: 48g
- Fiber: 1g
- Protein: 5g
- Cholesterol: 80mg